User Guide
ClaimNote 'Getting Started'
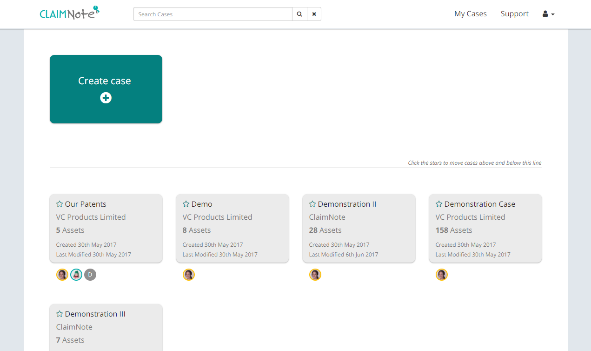
1. This is your own case overview page.
Click 'create case' to begin.
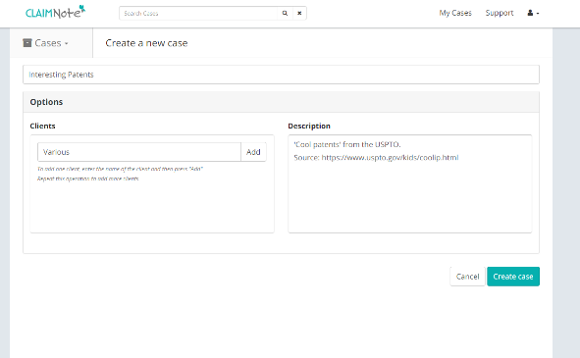
2. Add a case title, client and a description of the case.
3. Begin to populate the case.
Add patents by clicking on the green button.
Documents or attachments such as prior art and web links can be added using the menu on the left.

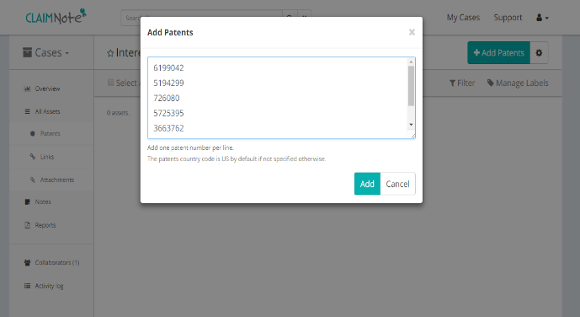
4. To add patents, either type individual patent numbers, or paste directly from a list.
Commas and 'US' prefix are not necessary. ClaimNote imports patents regardless.
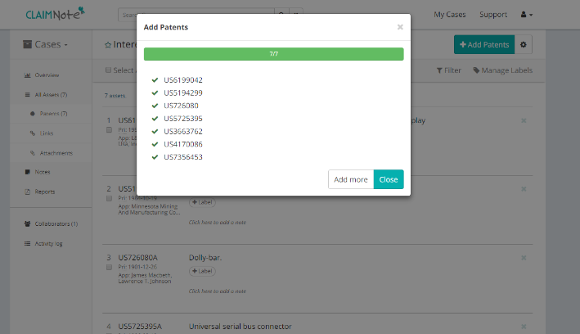
5. ClaimNote displays a successful import.
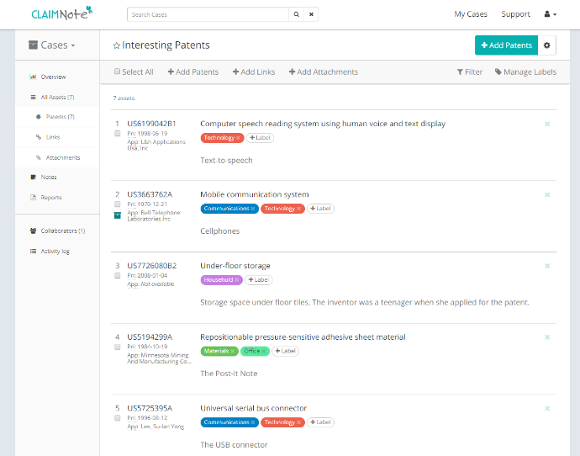
6. Once patents have been imported, you can begin to populate with comments and labels.
Patents can be filtered by label, and labels can be customized.
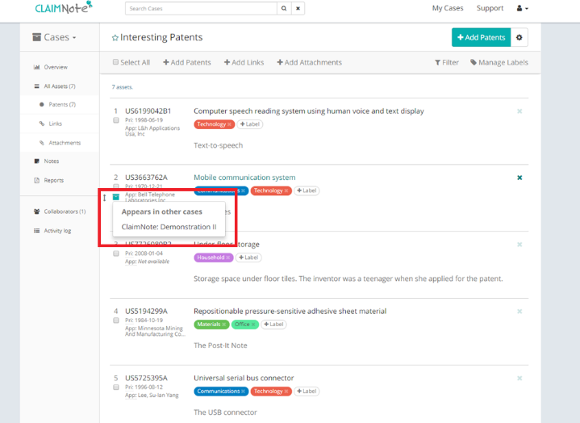
7. If a patent appears in another case, the archive box icon will highlight in green. Clicking on the box will display other cases that you have added the patent to.
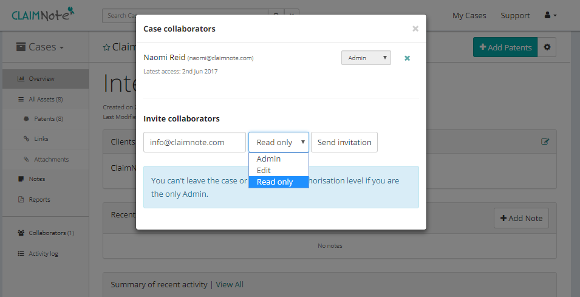
8. Add collaborators by typing email addresses and choosing access levels.
Levels can be changed at any time by the case administrator.
9. Add individual notes to request a colleague to complete a task, or use for your own reference.

10. Reports can be run in either HTML or CSV.

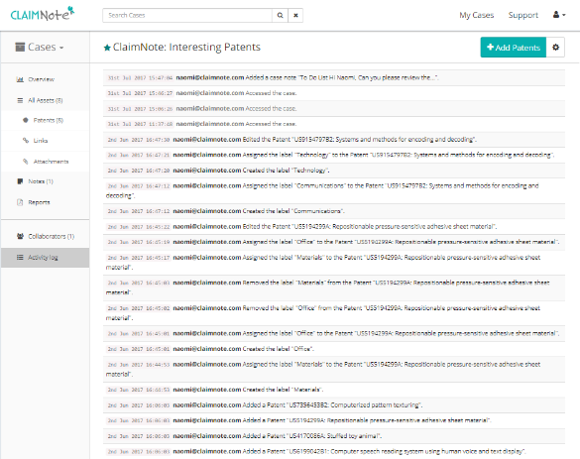
11. A full activity log can be viewed by the case admin. This means that every change can be tracked.
